Blogueiras amigas

Mostrando postagens com marcador tutorial. Mostrar todas as postagens

segunda-feira, 23 de maio de 2016

Video tutorial: Disappearing shoofly block- variation 1


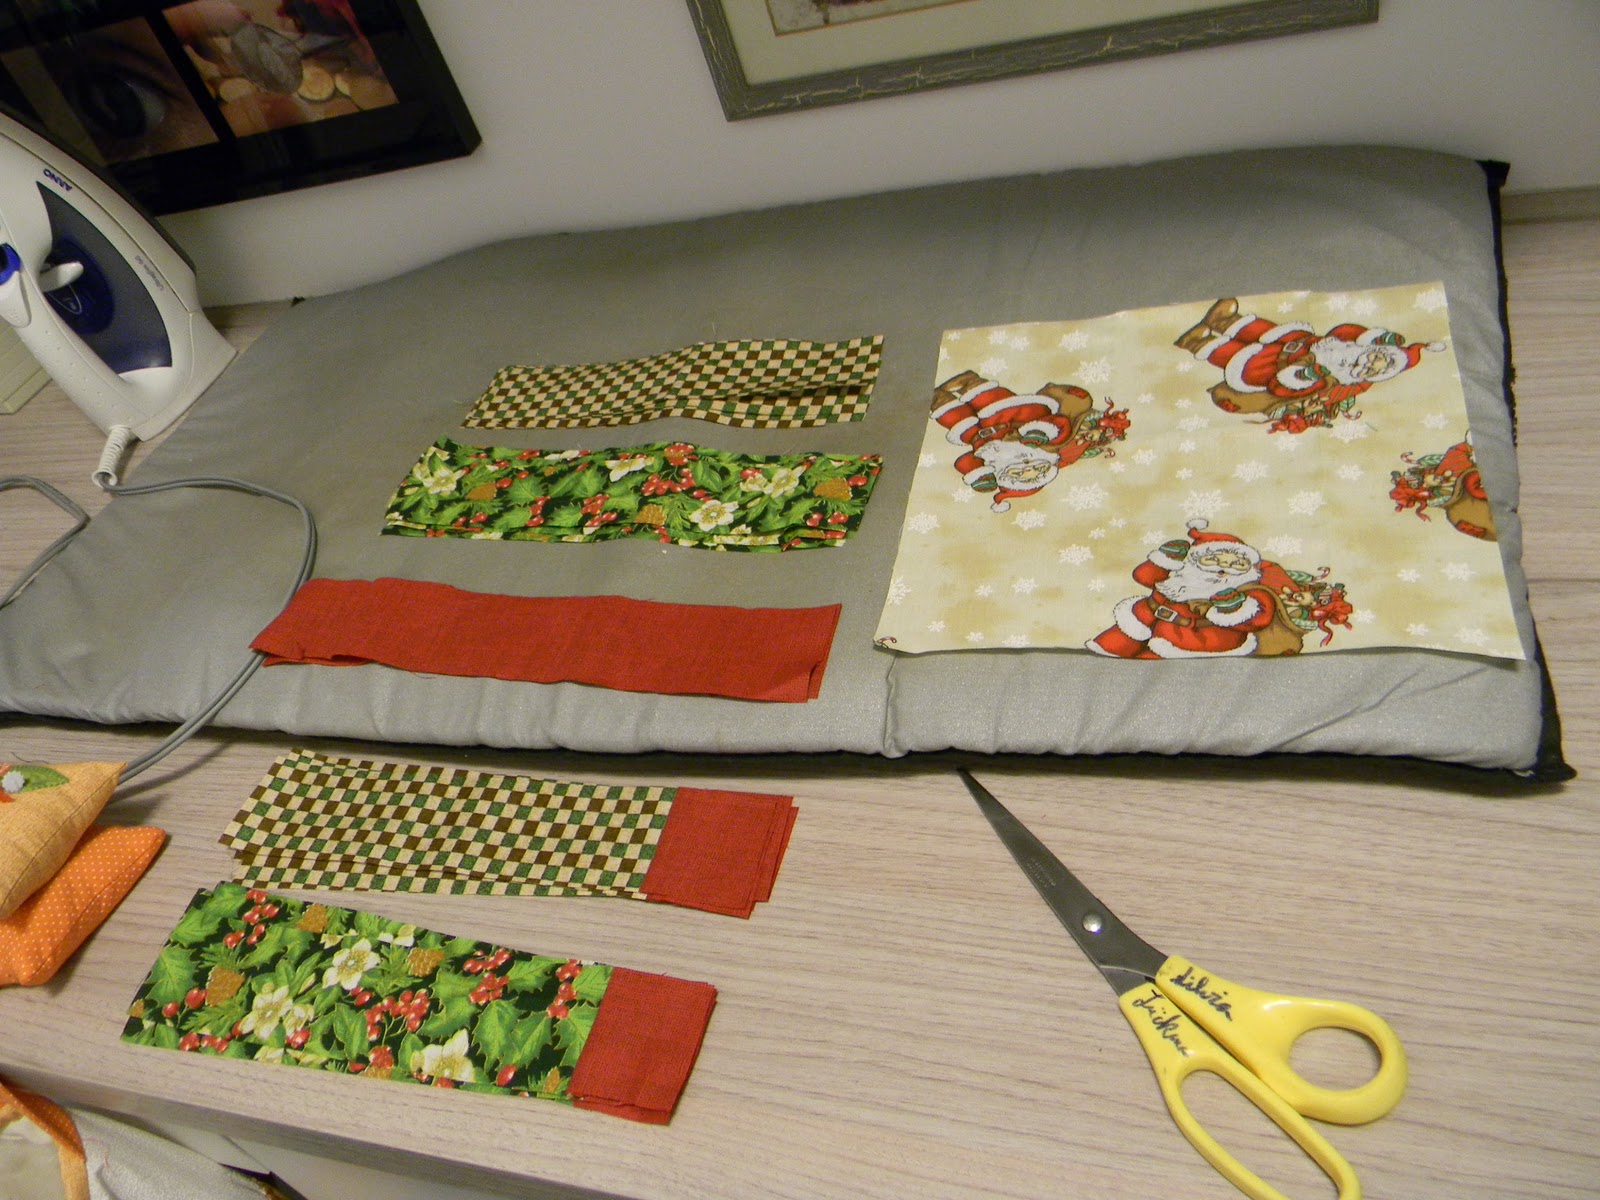
Essa moça tem trabalhos lindos, comecei a segui la , é da Austrália, voce conhece ?


Bloco pronto com 11 1/2 inches.
Teresa Down Under ( do Lado de baixo)

terça-feira, 29 de outubro de 2013

Projeto 49 Semanas

Projeto 49 Semanas
Por Eliana Zerbinatti (Tia Lili)
www.panoxadrez.com.br

Bloco 26: Prato de Vidro Quebrado
Medida do bloco: 30 cm (essa medida refere-se ao bloco já na colcha, sendo que antes disso ele mede 31 cm, devido à margem de costura – que é de 0,5 cm)
Cortando os tecidos:
- Tecido vermelho:
12 quadrados de 7 x 7 cm
- Tecido cinza claro:
8 quadrados de 7 c 7 cm
- Tecido cinza escuro:
4 quadrados de 7 x 7 cm
Tecido floral preto:
3 quadrados de 11 x 11 cm
Montagem:
Usando os quadrados de 7 x 7 cm dos tecidos vermelho e do tecido cinza claro monte 16 quadrados de triângulo perfeito. Depois, com o restante dos quadrados da mesma medida do tecido vermelho e os quadrados do tecido cinza escuro, monte oito quadrados de triângulo perfeito.
Costure os quadrados de dois em dois e depois costure os pares juntos.
Monte o bloco unindo as três "carreiras", observando a imagem para dispor corretamente os "patches"


Bloco 27: Retalhos Estranhos (Odd Scraps Patchwork)
Medida do bloco: 30 cm (essa medida refere-se ao bloco já na colcha, sendo que antes disso ele mede 31 cm, devido à margem de costura – que é de 0,5 cm)
Cortando os tecidos:
- Tecido floral:
4 quadrados de 7 x 7 cm
2 quadrados de 8 x 8 cm
- Tecido lilás (com libélulas):
1 quadrado de 7 x 7 cm
8 quadrados de 8 x 8 cm
- Tecido lilás (claro):
4 quadrados de 7 x 7 cm
6 quadrados de 8 x 8 cm
Montagem:
Usando os quatro quadrados de 7 x 7 cm dos tecidos floral e quatro quadrados da mesma medida do tecido lilás com libélulas monte oito quadrados de triângulo perfeito. Depois, com o restante dos quadrados da mesma medida do tecido lilás com libélulas e os quadrados do tecido lilás claro, monte 12 quadrados de triângulo perfeito.
Monte o bloco unindo as três "carreiras", observando a imagem para dispor corretamente os "patches".


Bloco 28: Caminhos e Degraus (Stiles and Paths)
Medida do bloco: 30 cm (essa medida refere-se ao bloco já na colcha, sendo que antes disso ele mede 31 cm, devido à margem de costura – que é de 0,5 cm)
Cortando os tecidos:
- Tecido vermelhão:
2 quadrados de 12 x 12 cm
- Tecido azul:
1 quadrado de 11 x 11 cm
1 faixa de 4 x 50 cm
- Tecido bege tostado:
2 quadrados de 12 x 12 cm
2 faixas de 4,5 x 50 cm
Montagem:
Dicas de corte e de montagem podem ser vistas em nossos vídeos no nosso canal no YouTube:
http://www.youtube.com/user/Panoxadrez
Usando os dois quadrados de 12 x 12 cm dos tecidos vermelhão e os dois quadrados da mesma medida do tecido bege tostado monte quatro quadrados de triângulo perfeito.
Costure a faixa de 4 cm de largura do tecido azul entre as duas faixas de 4,5 cm do tecido bege tostado.
Passe a ferro dirigindo as costuras para a faixa azul.
Coloque sobre a placa de corte, refile uma das extremidades e corte 4 fatias de 11 cm.
Monte o bloco unindo as partes primeiro em "carreiras" e depois costure-as entre si, formando o bloco.


quarta-feira, 18 de janeiro de 2012

terça-feira, 20 de setembro de 2011

Vi esse projeto, adorei e acabei ganhando 5o. lugar num concurso !


Free Table Topper Quilt Pattern

Easy Free Table Topper
This 12" x 38" table topper makes up very quickly out of three fat quarters. Fix yourself a cup of hot tea and I bet you are done before it cools!
For illustrative purposes, we are using the color names shown in the example. You are free to use whatever color you please, of course:-))
Want to share this pattern?  No problem - it's shareware!  See our copyright release at the bottom of this page.
Cutting
  • Start by cutting an 9 1/2" x 21" strip from the three fat quarters. Cut the remainder of the fat quarter into four 2" x 21" strips.
  • From both the pink and green 9 1/2" x 21" strips, cut a piece 9  1/2" x 12". From the white 9 1/2" x 21" strip, cut a 9 1/2" x 9  1/2" square. Set aside the remainder for use in another project.
  • From (3) of the 2" x 21" strips of both the pink and the green, cut (6) 9 1/2" long strips, for a total of 12 strips. Avoid using the selvage. Set aside the remainder for use in another project.
  • From the white 2" x 21" strips, cut (2) that are 12" long. Set aside the remainder for use in another project.
Sewing and Cutting
Easy Free Table Topper Cutting StepEasy Free Table Runner Cutting StepSew a 2" x 12" white strip to one side of the 9 1/2" x 12" pink piece, making a 11" x 12" block. It should look like the block to the left. Repeat for the green. Press to the dark. Cut these blocks into (6) strips 2" x 11" long, like the block to the right.
Inventory
You should have:
  • six 9 1/2" x 2" strips of pink
  • six 9 1/2" x 2" strips of green
  • two 12" x 2" strips of white
  • six 11" x 2" two-part strips of pink and white
  • six 11" x 2" two-part strips of green and white
  • One 9 1/2" x 9 1/2" white square.
Now it is time to put them together, but first a note on pressing. It is almost impossible to keep your strips pressed to the dark. Rather, you should try to keep them all pressed away from the center square. Pin carefully as you piece this top together. Nesting the seams will help you keep your intersections sharp.
Sewing

Easy Free Table Runner Quilt Cutting StepEasy Free Table Topper Quilt Piecing StepSew a 9 1/2" long green strip to either side of the 9 1/2" x 9 1/2" white square, like the one on the left. Sew a two part green strip to the other two sides, placing the small square at opposite corners as shown to the right. Note that the strip will not go all the way to the end of the block. It feels really odd, but don’t worry about it, you are doing okay.
Easy Free Table Topper Piecing StepSew a pink 9 1/2" x 2" strip to the two-part green strips on both sides of the table runner, starting with the end that has the little square. Remember, this strip won't reach all the way to the end of the previous strip. Now add a two-part pink strip, again starting at the end that has the little square. Keep adding strips, alternating colors and making sure to place the square on the correct corner. Do you see how it is going together almost like a log cabin?

After you have sewn all your strips, press carefully. Get all those seams going in one direction on the back so the top lays flat. Now place your ruler n the body of this top and rotary cut it straight. Make sure your 1/4" mark lines up with the point of the center square so you don't cut off your point when you sew on the binding. (the diagram below shows where you should lay the 1/4" mark on your ruler.)

Easy Free Table Topper Final Cutting Step

You are almost done! Just add batting and backing, quilt as desired. Use commercially prepared bias binding to make things easier on yourself, or make 92" of 2 1/2" wide straight-grain binding from the leftover white. Don't worry about the Quilt Police, they don't write tickets on any straight grain binding under 100" long.
http://quiltbug.com

Enjoy!


Muito facil de fazer e ficou lindo 


To me achando !!!! 
Ganhei uma maquina de Costura Siruba com 22 pontos e uma sacola cheia de produtos da Círculo


Esses eu fiz na aula de ontem 

Tem esse modelo diferente e  facil que vi na tv Aparecida :

boa sorte ,  bjs