
Free Table Topper Quilt Pattern

For illustrative purposes, we are using the color names shown in the example. You are free to use whatever color you please, of course:-))
Want to share this pattern? No problem - it's shareware! See our copyright release at the bottom of this page.
Cutting
- Start by cutting an 9 1/2" x 21" strip from the three fat quarters. Cut the remainder of the fat quarter into four 2" x 21" strips.
- From both the pink and green 9 1/2" x 21" strips, cut a piece 9 1/2" x 12". From the white 9 1/2" x 21" strip, cut a 9 1/2" x 9 1/2" square. Set aside the remainder for use in another project.
- From (3) of the 2" x 21" strips of both the pink and the green, cut (6) 9 1/2" long strips, for a total of 12 strips. Avoid using the selvage. Set aside the remainder for use in another project.
- From the white 2" x 21" strips, cut (2) that are 12" long. Set aside the remainder for use in another project.

 Sew a 2" x 12" white strip to one side of the 9 1/2" x 12" pink piece, making a 11" x 12" block. It should look like the block to the left. Repeat for the green. Press to the dark. Cut these blocks into (6) strips 2" x 11" long, like the block to the right.
Inventory
You should have:
- six 9 1/2" x 2" strips of pink
- six 9 1/2" x 2" strips of green
- two 12" x 2" strips of white
- six 11" x 2" two-part strips of pink and white
- six 11" x 2" two-part strips of green and white
- One 9 1/2" x 9 1/2" white square.
Sewing

 Sew a 9 1/2" long green strip to either side of the 9 1/2" x 9 1/2" white square, like the one on the left. Sew a two part green strip to the other two sides, placing the small square at opposite corners as shown to the right. Note that the strip will not go all the way to the end of the block. It feels really odd, but don’t worry about it, you are doing okay.
 Sew a pink 9 1/2" x 2" strip to the two-part green strips on both sides of the table runner, starting with the end that has the little square. Remember, this strip won't reach all the way to the end of the previous strip. Now add a two-part pink strip, again starting at the end that has the little square. Keep adding strips, alternating colors and making sure to place the square on the correct corner. Do you see how it is going together almost like a log cabin?
After you have sewn all your strips, press carefully. Get all those seams going in one direction on the back so the top lays flat. Now place your ruler n the body of this top and rotary cut it straight. Make sure your 1/4" mark lines up with the point of the center square so you don't cut off your point when you sew on the binding. (the diagram below shows where you should lay the 1/4" mark on your ruler.)

You are almost done! Just add batting and backing, quilt as desired. Use commercially prepared bias binding to make things easier on yourself, or make 92" of 2 1/2" wide straight-grain binding from the leftover white. Don't worry about the Quilt Police, they don't write tickets on any straight grain binding under 100" long.
http://quiltbug.com
Enjoy!
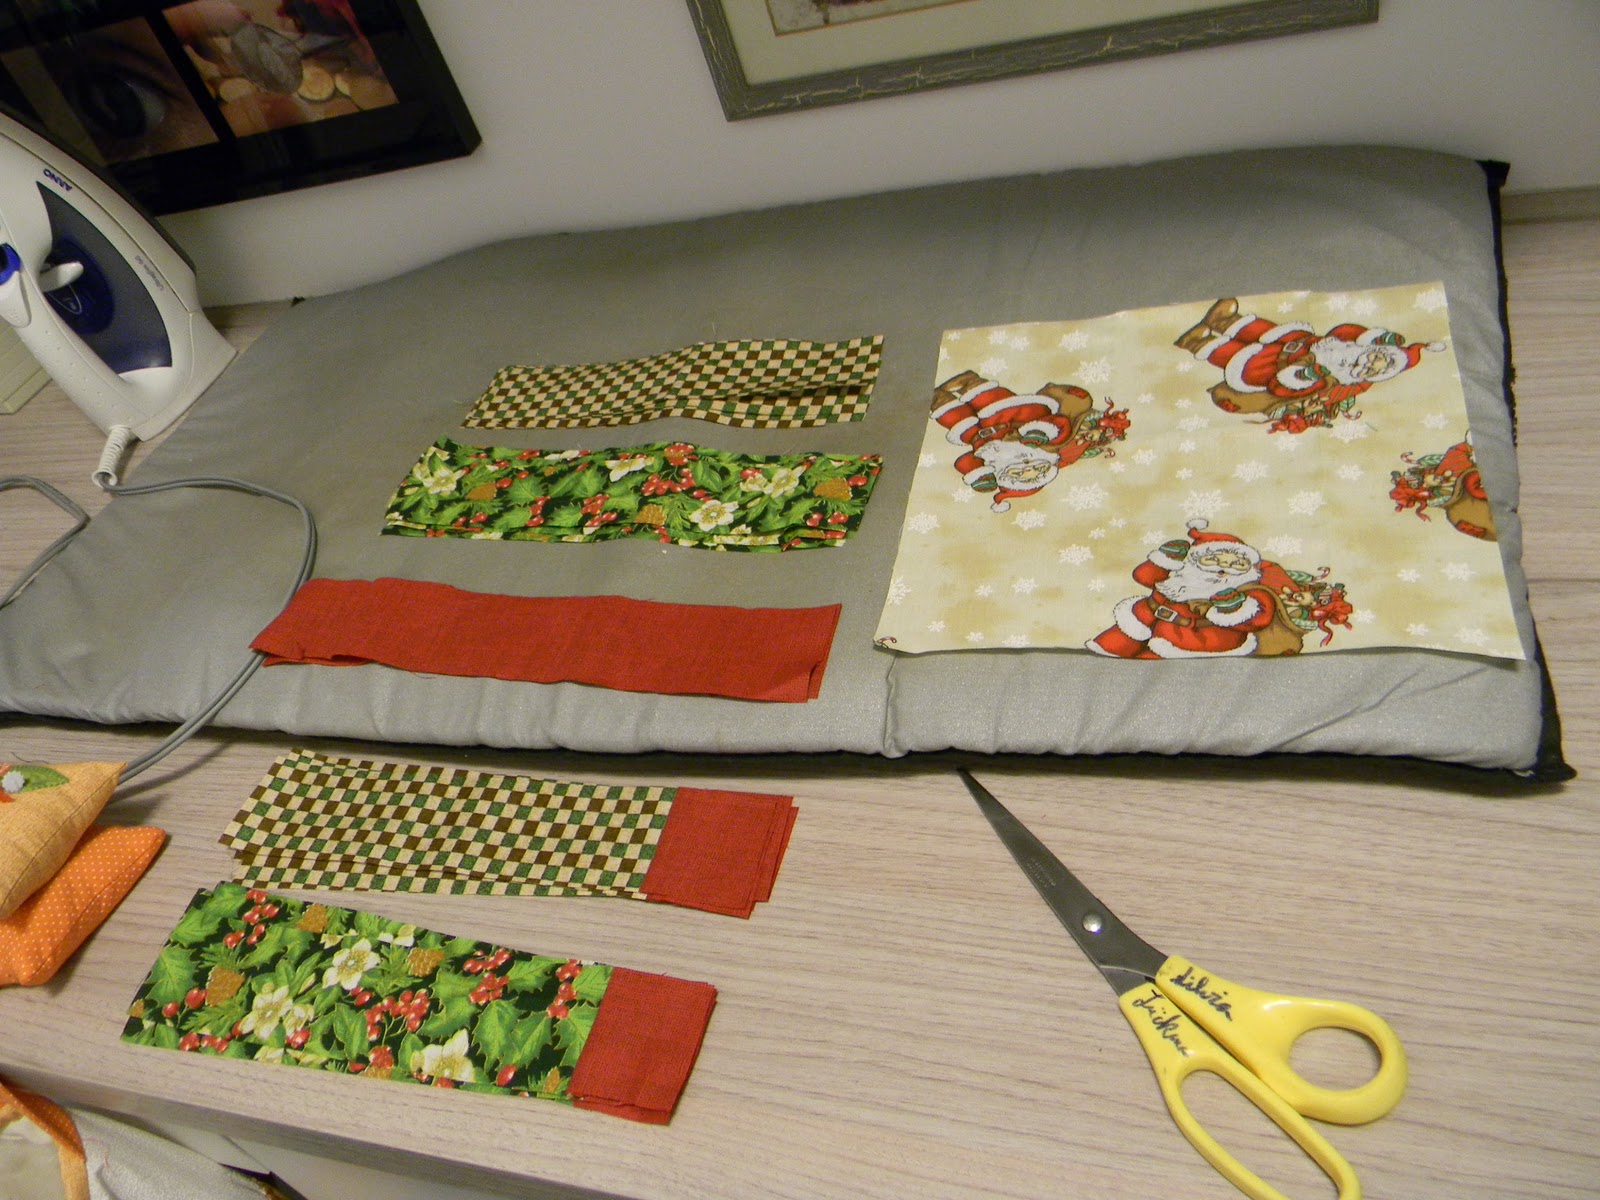
Muito facil de fazer e ficou lindo


To me achando !!!!


Esses eu fiz na aula de ontem
Tem esse modelo diferente e facil que vi na tv Aparecida :
boa sorte , bjs
Ai, que lindo!!! Obrigada por estar lá no blog e participando do sorteio... Fica tb o convite para conhecer as Galerias de Criações Compartilhadas e, quem sabe, participar hora dessas!!! Abs. Marion
ResponderExcluirSílvia! Que liiiindo... adorei ver teu girassol lá no blog. Obrigada pela participação epela divulgação! Eu gosto tanto da Duna Atelier... qdo fui a Blumenau no verão minha comadre me levou para conhecer a loja... Fiz um carregamento de peças ara pintar!!!! Agora, qdo estavam na Feira de Patchwork em Gramado aproveitei de novo! Abs Marion
ResponderExcluirOi, Sílvia! Muito obrigada pela visita lá no blog! Eu também sou de Blumenau! Vim te visitar e gostei muito! Quantas ideias! Beijos, Sandra
ResponderExcluirParabéns pelas criações inclusiva a do projeto do clubinho, lindaaaa
ResponderExcluirTambém sou do clubinho, vim te visitar , seguir e convidar para o primeiro sorteio do meu blog, passa lá, dá uma olhadinha e participa,
beijinhus
Bella
http://dasbellas.blogspot.com
this is gorgeous my dear...love the pattern...simply superb...you did good..wish you had joined us on our blog hop...maybe next one..I have one I will be announcing sometime this week..
ResponderExcluir